|
If necessary, the geometrical element referenced by a publication can be replaced using the following steps:
-
Activate the component containing the published geometry to be replaced.
-
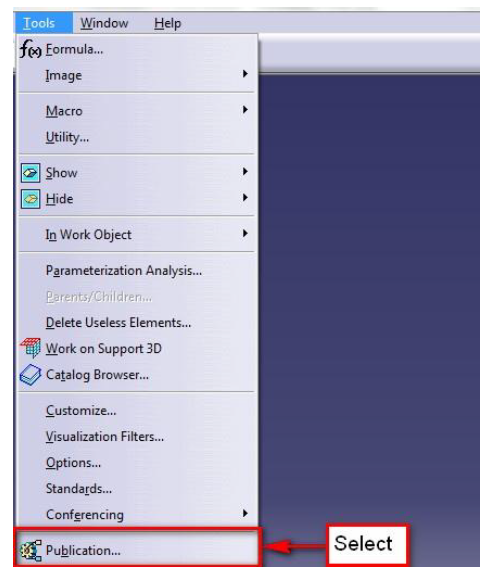
Click Tools > Publications.
-
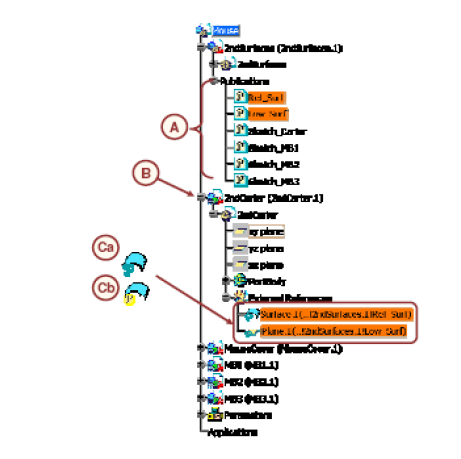
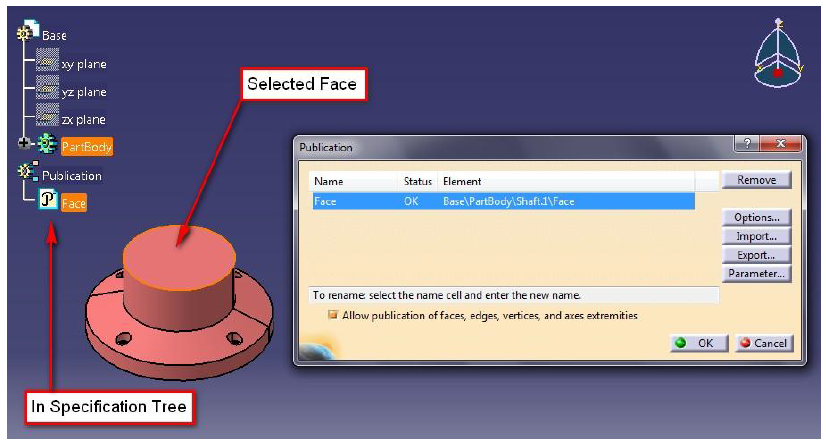
Select the publication to replace.
-
The current geometrical element highlights on the model
-
Select the replacing geometrical element.
-
Select Yes from the Replace Element dialog box.
-
Select OK to close the publications dialog box.
 |